Good dental hygiene should never be overrated. And technology continues to advance to ensure that dental health procedures keep getting better. One of the products of technology that dentists have in their arsenal is the dental drill. But like every piece of equipment, the best usage practices are necessary if dental drills are to be effective and long-lasting. So, here is how to get the most out of dental drills.
Types of dental drills
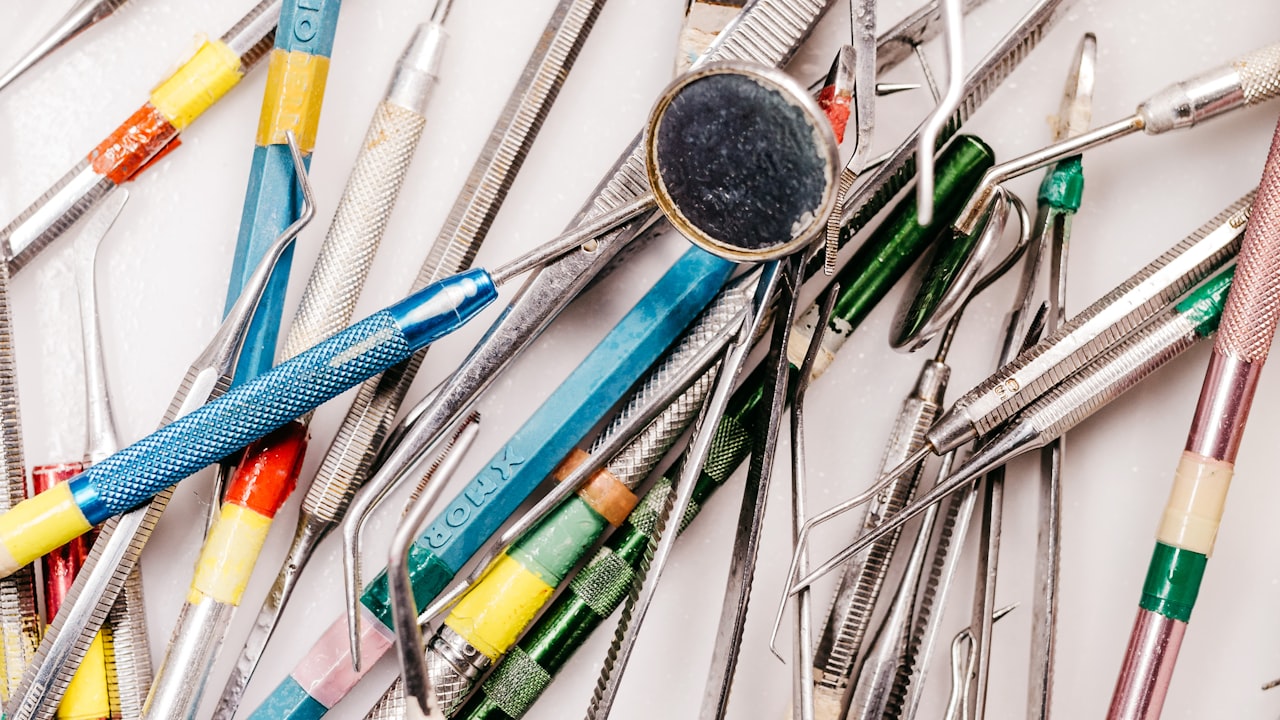
It is important to first note the different types of dental drills, as they perform different functions and do not have the same power sources. A dental drill, also known as a dental handpiece is mainly of two types namely;
- Turbine-driven dental drills; and
- Electric-driven dental drills.
Turbine-driven drills can either be high-speed drills or low-speed drills. The difference in rotation frequencies of these two classes of turbine-powered drills ranges from 200000rpm to over 350000rpm.
However, other types of dental drills are–
- Surgical dental drills
- Endodontics handpiece; and
- Implant drills.
Tips to observe when handling a dental drill
When not in use
- All drills should be in their appropriate space and not strewn over countertops.
- Considering how you would have more burs than a few, having a bur block would be very beneficial. This way, you can keep your burs organized without having to scamper around in search of a few missing ones when the need arises.
- Your handpieces should be kept upright in their storage vessels and allowed to cool naturally after prior sterilization.
While in use
- Considering how each bur has its function, improvising one bur for the function of another is not advised.
- The vents on the dental drills function to cool the heat generated by the drill (especially turbine-powered drills), therefore to avoid build-up of this heat, avoid obstructing these vents while in use.
After use
- Carefully place your dental drills into their designated storage space to avoid causing any damage.
- Ensure to properly remove the blood and other remains from the drill. You can do this using disinfectant. However, this should be done immediately after use.
- If you will be using an Ultrasonic machine to clean the drills, ensure that no two drills are in contact with each other while in the unit.
- For drills with various pieces that can be dismantled, take each piece apart and disinfect them individually.
- Keep disinfectants containing acid and chlorine away from dental drills, and ensure that your water source does not contain high amounts of chlorine.
- It is advisable to lubricate all dental drills regularly. If you make use of the autoclave frequently, it would be best to lubricate after a maximum of five times. When lubricating, ensure to pop off the bur and put the oil into the smaller hole on your handpiece which is the air port. After lubricating, put the but back on and clean the handpiece.
- To remove excess oil for lubrication (not enough to cause a blockage), use the air flush station or connect it to the delivery unit and let it run for over 30 seconds.
- Where there are incrustations, clean thoroughly using only nylon brushes.
- Do not clean using any Aldehyde solutions as protein remnants would not be properly removed.
- If you would be sterilizing with a wet heat autoclave (advisable), 134°C for about 20 minutes would suffice for most drills. But first, ensure that there are no rusts in the machine.
- Allow all drills to dry completely before storing them.
Bottom Line
As a dental professional, to ensure that your dental drills stay in their best shape and give optimum performance, it is necessary to carry out regular and proper maintenance. The handling tips in this article are sure to let you get the most out of your drills.